There was a problem loading the comments.

Outlook 2013

Support Portal  »  Knowledge Base  »  Viewing Article

  Print
This guide will show you how you can set up your email address in the client Outlook 2013.

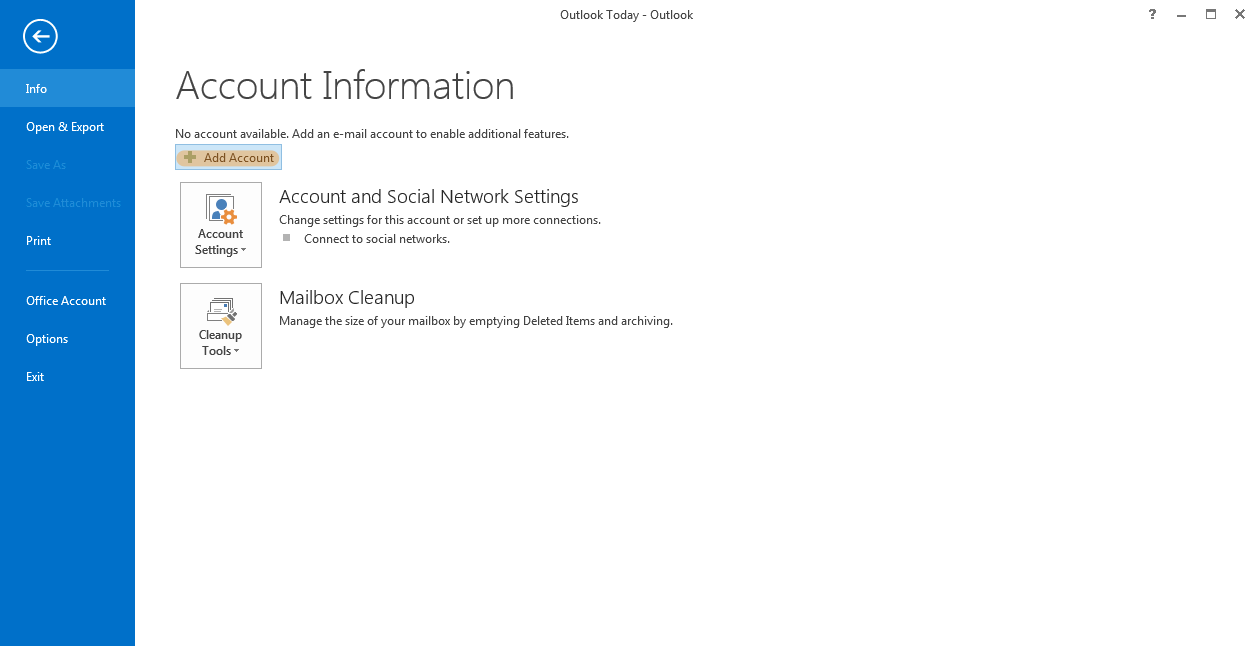
1. Firstly click on File and then add account.

a3e04233c25d6f473b552d67020fc1211c9fda6921162ebbb5807d90bff6971439256ca25d966ea4?t=559aa7228f65d87076b68dd71755a77c

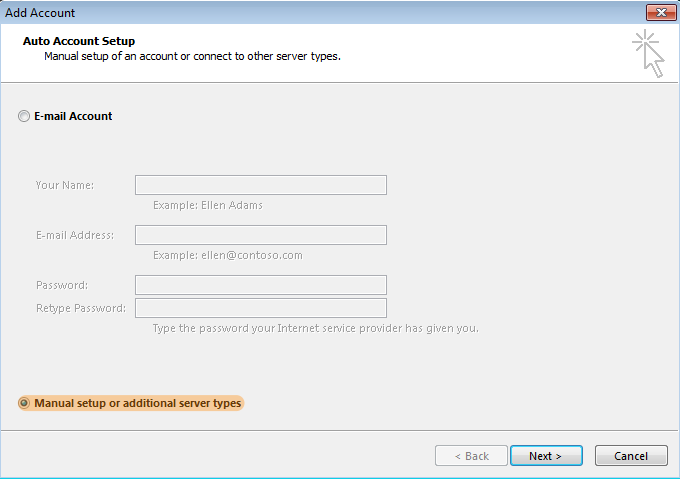
2. Next select Manual setup or additional server types.

3f30b1ec2fcb3ba6ace37b59566578300ecd4423f08836ec30e135c826e0dac78898dbbe9f70e492?t=16c3aed7759e285c375bfb8eb2d773d0

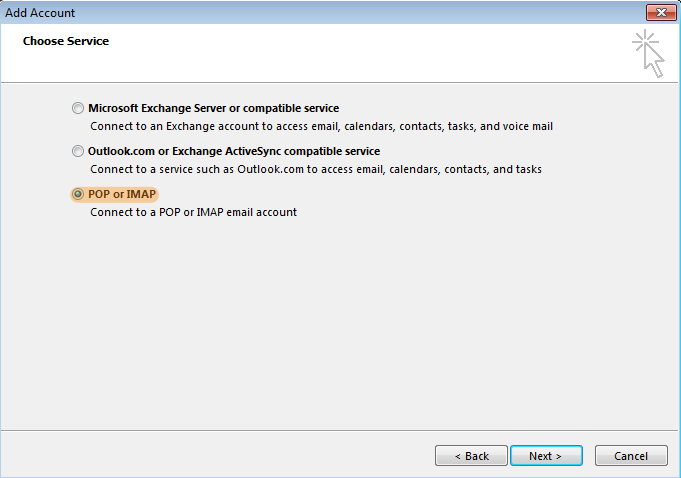
3. Select POP or IMAP as the service type.

b01e47a0aea4cd34c22a8d486d3deaf70e3f82fcedd4ec1f648ef570d18c4ac75f454acfe543a532?t=0d4a4136e1dbbb1f2434a7b4ef44af3f

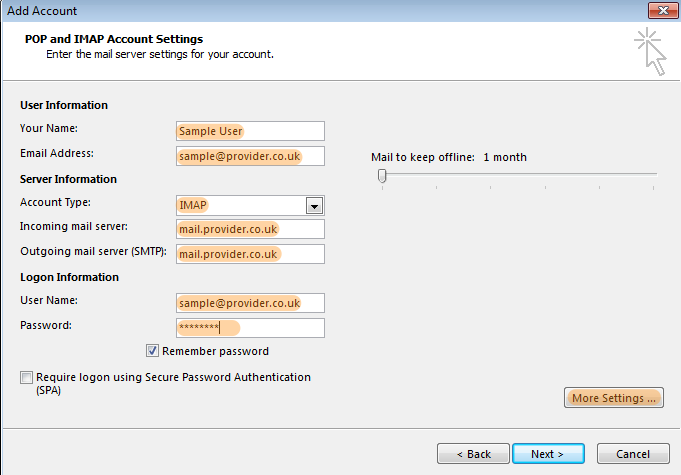
4. Now it's time to input the account settings for your email address. The username is always the full email address. Click on More Settings.

ec35cfb4fcebd9cd36349f43562da9681faabb5d21c0983445ea43ae361f5d7769f94cc48f1634a2?t=04f66c1ec66c4986bb06c87b9f19d9e6

5. Click on the second tab, labelled Outgoing Server. Check the box thats says your outgoing server requires authentication.

ddd814066e2a5ab5cdf51257be184af69eb40064d1daef9b534bdc6214b1267a00ac2a9c0210c001?t=2a2edfd5b47bff9de6c7d4f4593c97e1

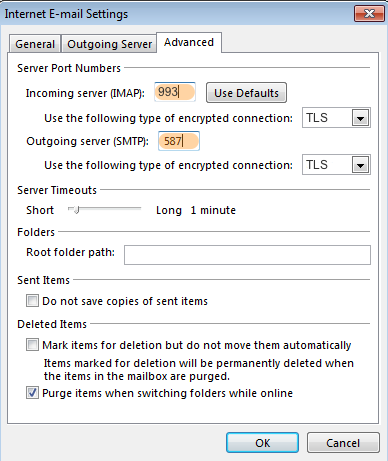
6. Now go to the Advanced tab and change the outgoing server port to 587.

cb3e35561e3960467b166cda7e265c2ea7dde68e1b9f95495f07ad5dfb8e8fa112b853a51eeee8aa?t=1212ff803f864b9a095cd497a7324f0b

7. After these details are entered, Outlook will send a test email to show the setup is working correctly.

78fe797e84cf2bd6a8b20911dc5fcf59b3568b9c617424c92507e9d21ccb96aa6053608921822821?t=c865527fa1d8bd9d4ddf818f0fe6d8d3

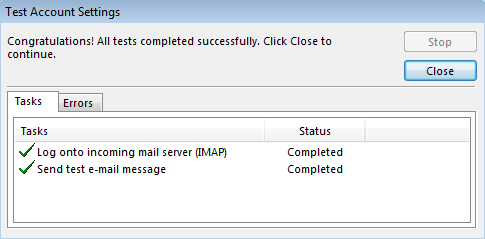
If the test message is sent successfully, your account is up and running in Outlook 2013.

Share via
Did you find this article useful?  

Related Articles


Comments

Add Comment

Replying to  

Tags

© xilo